I just got a T2 pinball machine, and this is me documenting my tear down of it.
Lower Playfield
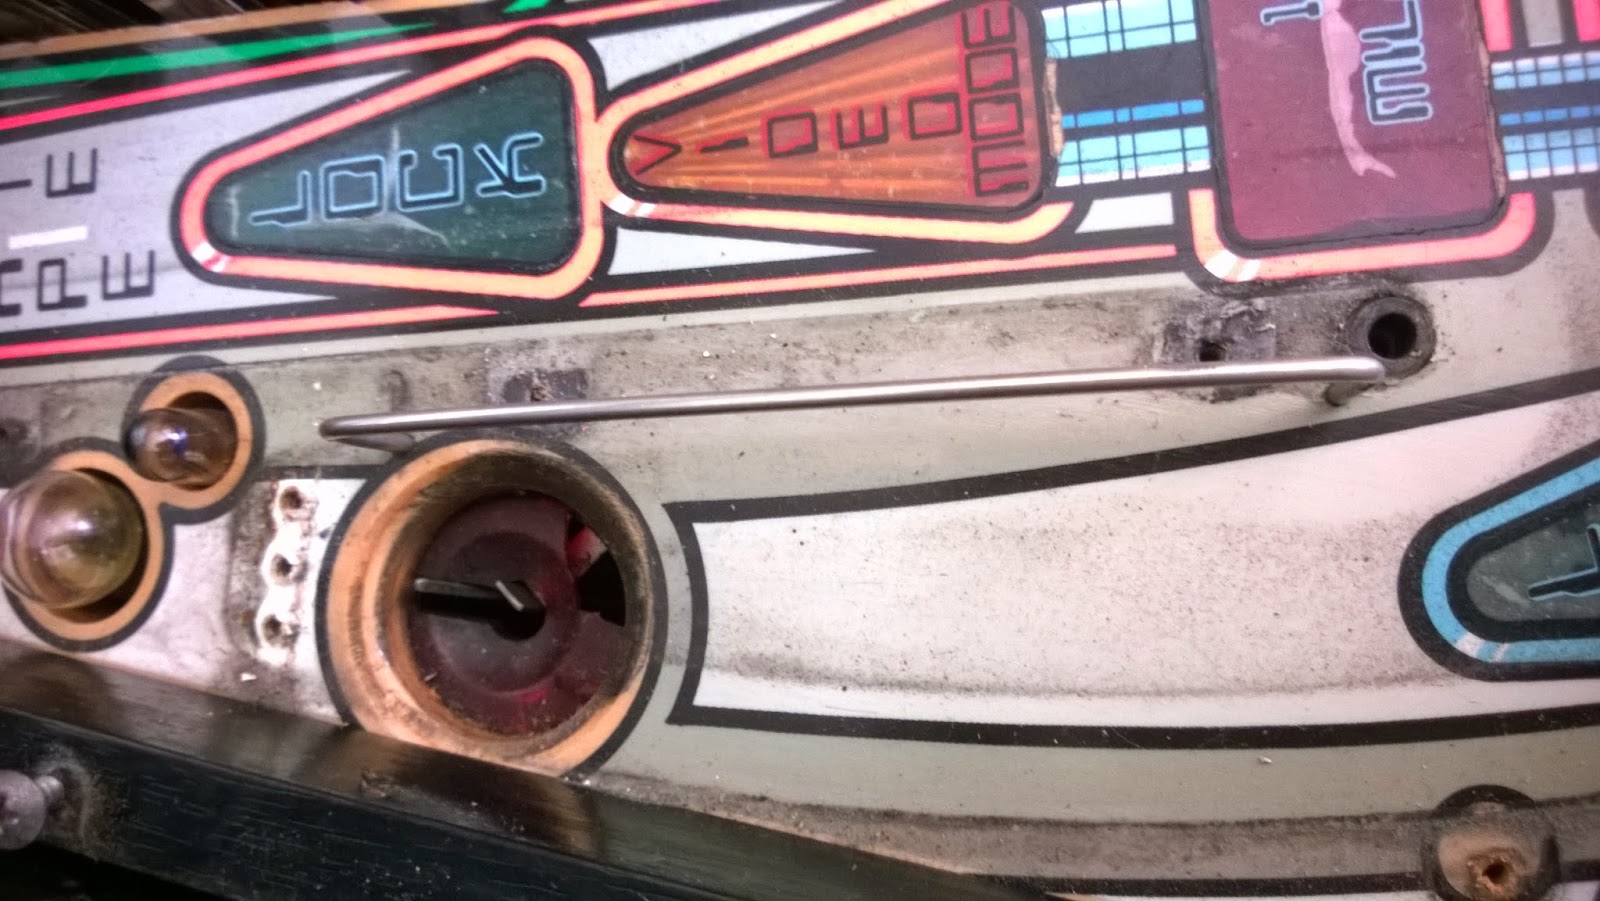
Lower Left Playfield
Bag #1 Contents
(3) plastic clear posts
(3) #4-40 x 2.5" machine screws
(1) #6 x 1.5" pan head screw
(2) #4 x 3/8" screws
(2) posts screws for the plastic posts
(3) metal sleeves
(3) #4 x 1" wood screws that go into the metal sleeves
(1) 5/16" locknut
(1) 3/8" locknut
This metal chute/guide is not present on the right side of the lower playfield.
Middle Playfield
Left Middle Playfield
Bag #2 Contents
(1) Plastic clear post
(1) #4-40 x 1/2" machine screw with star washer
(1) #6-32 x 1.75 that secures the plastic clear post to the playfield
(2) #4 x 3/8" screws
(5) #4 x 1/2" sheet metal screws
NOTE: These are wood screws, not sheet metal screws.
The top screw holding the plastic in place. It doesn't have to be removed.
NOTE: These are wood screws, not sheet metal screws.
Dirty!
Left Wire Chute
Bag #3 Contents
(2) #2-56 switch screws
(1) big switch plate
(1) nut plate for the back of the switch
(4) #4 x 1/2" wood screw
(1) #6 x 1/2" wood screw with a pan head that secures the wire chute to the playfield
(2) #4 x 3/4" slot hex head self drilling machine screw
(2) #4 x 3/4" machine screw with locknut
Left Ramp
Bag #4 Contents
(2) #2-56 switch screws
(2) #4 x 1/2" wood screw
(1) screw nut plate
(1) switch pad with two holes in it
(2) #2 x 1/2" wood screw, flat head
(1) #4-40 x 1/2" machine screw with star washer and star locknut
(1) #4-40 x 3/4"machine screw with star locknut
(1) Cyberdyne plastic sign
(1) above the ramp bracket with thin wire that hits the switch
(1) metal bracket
The Skull
Bag #5 Contents
(2) Metal sleeves
(3) #4 x 1.75" wood screws
One of these goes through the black plastic sleeve
(1) black plastic sleeve
(3) #4 x 1/2" wood screws
(2) 5/16" locknut
(1) 5/16" nut
(1) #6-32 x 1.75" machine screw
(1) 2" post thing
(1) L-bracket that secures the skull (broken, should be riveted to the skull)
(2) clear plastic post things
(1) ramp gate thing
I don't think it's supposed to do this:
Right Ramp
Bag #6 Contents
(3) #2-56 switch screws (need 4, replace as needed)
(2) switch nut plates
(1) switch gasket/pad thing
(1) microswitch
(2) #2 x 1/2" flat head wood screws that hold the ramp in place
The pictures list them as #4
(1) #4 x 1/2" wood screw
(1) slot headed newer looking #6-32 x 1/2" machine screw
(1) #6-32 machine screw with star washer
(2) #4-40 x 3/16" machine screw
(1) #4-40 x 1/2" machine screw
(2) metal bracket things that go on the ramp
(1) Skynet command center plastic sign
Removing the middle screw
This screw is already removed
The wire chute will come out of the ramp, but you have to remove the switch before it comes free.
After removing the wire chute
Not sure the screws that held down these metal guides needed to be so long. They only went through this plastic.
Need to remove the right switch before the ramp comes free.
Snip these zip ties!
Snip these zip ties!
Unsolder this switch
Cannon Ramp and right side plastics
Bag #7 Contents
(3) #4 x 1/2" wood screws
(4) #6 x 1/2" wood screws
(1) 5/16" nut with star washer
(1) 5/16" locknut
(1) 11/32" locknut with flat washer
(1) #4-40 x 1/4" machine screw
(1) #6 x 3/4" wood screw
After removing the cannon ramp. So dirty!
It looks like the leg on my cannon ramp was moved from one hole to another. Maybe the old hole got stripped out?
Is the right side of this plastic supposed to be so much more elevated than the rest of it? Looks weird.
Here is the middle screw that needs to be backed out to get this plastic off.
After removing the right upper plastic.
After removing the plastic just below the cannon.
Dirty dirty dirty.
More plastics and star posts
Bag #8 Contents
(1) #4 x 1/2" wood screw
(1) Gate that goes on top of the shooter lane
(2) 5/16" locknuts
(1) #6-32 x 1.75" machine screw
(1) 2" post
(3) Clear plastic posts
(1) e-clip for the cannon shaft
(1) #4-40 x 3/8" machine screw
Top Lanes and Posts
Bag #9 Contents
(7) Clear star posts with a tapered top
(2) Clear star posts with a flat top
(1) #6 x 1.75" wood screw with a washer and locknut on top
(1) #6-32 x 1.75" machine screw shaft with a nut on top and threads on top of the nut
(7) #6-32 x 1.75" machine screws
(1) #4-40 x 3/8" machine screw
(1) ball gate
(4) red plastic toppers/guides, 2 are broken
Middle bank of 3 targets
Bag #10 Contents
(1) Metal plate
(2) locknuts
(2) #2 x 1/2" wood/sheet metal screws
(1) top of a red pop bumper
(3) Metal shafts with a black rubber sleeve
(2) Metal shafts with no rubber sleeve
(2) washers
(2) locknuts with red nylon/material
(1) #6-32 x 1.75" machine screw
(1) Clear star post
Posts in the upper right of the playfield
Bag #11 Contents
(1) Clear star post
(7) locknuts
(7) washers
(1) #6-32 x 1.75" machine screw that goes through the star post
(6) metal posts
(1) metal post with some threading on top
After the locknuts are removed
Big Metal Guide that loops around the back
Bag #12 Contents
(1) Metal bracket
(8) #2 x 3/8" wood screws
(10) #4 x 1/2" wood screws
After the guide on the right was removed.
How I got to the last screw here.
All the remaining posts and thin metal gate things
Bag #13 Contents
(3) Metal brackets, all slightly different
(1) Black thick rubber metal post with a threaded hole on top
(1) Black thin rubber metal post with a theaded hole on top
(3) Black thick rubber metal post with no hole on top
(1) Black thin rubber metal post with no hole on top
(6) Yellow rubber metal posts with threaded hole on top
(6) #4 x 1/2" wood screws
(1)Clear star post
(1) #6-32 x 1.75" machine screw
(16) flat washers
(12) 11/32" locknuts
(4) #4 x 1/2" hex head wood screws
(1) #4 x 3/8" self drilling screw
(1) Spikey post with a threaded bottom
This step was pretty straightforward, so I didn't make as many detailed notes. Essentially, I took a picture of the posts on the top of the playfield and then flipped it over to find the corresponding nut on the bottom.
I was very shocked to see that these things just pulled out. I hope they're supposed to...
Last metal rail, wood rail, and apron
Bag #14 Contents
(1) Metal rail
(2) Apron brackets
(1) Broken tab
(3) Flat head #4 x 1.25" wood screws
(10) hex head #4 x 1/2" wood screws
(1) flat washer
(1) 11/32 locknut
(4) #2 x 3/8" wood screws
(3) #4 x 1/2" wood screws
(2) #6 x 3/4" pan head wood screws
(1) metal gate thing
Slingshots, targets
Bag #15 Contents
(1) Metal post that goes between the flippers
(1) Pop bumper yoke
(4) #2 x 1/2" wood screws
(6) #4 x 3/4" flat head wood screws
(6) locknuts with white nylon for the pop bumpers
(1) locknut with red nylon for the post between the flippers
(2) brass brackets for the slingshot assembly
(4) cotter pins for the slingshot assembly
(2) internal star washers
(6) flat washers
(2) slingshot arms
(36) #4 x 1/2" hex head wood screws
Loosening up the flipper bats. After loosening this screw the bats pull straight out.
Another shot of the shaft that holds the flipper bat.
Getting clear!
Solder points for the pop bumper bulbs. I cut these staples and snipped the leads.
Solder points for the pop bumper bulbs. I cut these staples and snipped the leads.
Solder points for the pop bumper bulbs. I cut these staples and snipped the leads.
Solder points for the pop bumper bulbs. I cut these staples and snipped the leads.
Solder points for the pop bumper bulbs. I cut these staples and snipped the leads.
Solder points for the pop bumper bulbs. I cut these staples and snipped the leads.
Pop bumper removed.
All pop bumpers removed.
A shot of the slingshot assembly.
All the parts removed to allow the slingshot arm to come out.
Removing all of the targets and bulbs
All of these targets come off with just two hex head wood screws each
Now the playfield is all ready to clean. And boy does it need it!
Thank you SO MUCH for doing all of this! It helped sooooo much. I appreciate (I'm sure I speak for many other people) all of your effort & time with so much detail & all the pictures.
Fabulous Creamy, very useful for me as I'm doing the same job right now. Although I've decided to do it in quarters rather than take everything off!
My playfield is pretty wrecked and I've used Treasure Cove which has improved things but I'm contemplating ordering a NEW playfield from here: http://buthamburg.de/
So pleased to find your blog, thank you so much for sharing it is appreciated. You've done a truly magnificent job detailing and itemising and has helped me out so much.
I'd be interested seeing photos of T2 restoration and what you have done.
Incidentally when opening the December blog the page tries to open one drive to presumably load images but fails.
This blog has been the the most helpful information I’ve seen. I’m working on my machine and this blog is so fantastic. Your documentation is extremely high quality and you are s total star for this and your effort. I was confused on a few parts and this blog has made this so much easier for me. There should be more sites like this


Thank you SO MUCH for doing all of this! It helped sooooo much. I appreciate (I'm sure I speak for many other people) all of your effort & time with so much detail & all the pictures.
ReplyDeleteFabulous Creamy, very useful for me as I'm doing the same job right now. Although I've decided to do it in quarters rather than take everything off!
ReplyDeleteMy playfield is pretty wrecked and I've used Treasure Cove which has improved things but I'm contemplating ordering a NEW playfield from here: http://buthamburg.de/
Cheers
This comment has been removed by the author.
ReplyDeleteSo pleased to find your blog, thank you so much for sharing it is appreciated. You've done a truly magnificent job detailing and itemising and has helped me out so much.
ReplyDeleteI'd be interested seeing photos of T2 restoration and what you have done.
Incidentally when opening the December blog the page tries to open one drive to presumably load images but fails.
Thanks for the feedback Jeff. I'll try and fix the image loading issues.
DeleteHi Mate,
ReplyDeleteThis blog has been the the most helpful information I’ve seen. I’m working on my machine and this blog is so fantastic. Your documentation is extremely high quality and you are s total star for this and your effort. I was confused on a few parts and this blog has made this so much easier for me. There should be more sites like this
Kinda regards
Carlos
Hi Carlos, thanks for the feedback. It feels good to know that all the hard work of documenting is being used out there.
DeleteI no longer have the machine, but I will keep this blog up as a resource for people.
This is an extremely useful page, well done.
ReplyDeleteCheers from Australia.
Cheers to you!
Delete