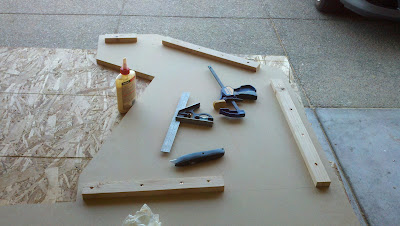
Up until this point I have been doing this project without a table saw, and instead using a set of straight edges and a circular saw to make my cuts, which has been somewhat tedious, but manageable.
This past weekend my papa offered up his old Craftsman table saw (about 30 years old), since he is too old to be using it anymore, and I gladly took it off his hands. When I get it home, however, I realized that it was in pretty rough shape, and probably not too safe or pleasurable to use as is.
After much churning (I had good momentum going on the arcade cab and didn't really want to stop), I decided that if I took the time to restore this table saw, I could use it to do a better job on my current cabinet, plus have something to do even more projects down the road.
Thus I give you a picture progress timeline of my last week with the Craftsman.
 |
| The saw when I got it. |
 |
| The cast iron top has a good bit of rust on it. |
 |
| The motor seems to run well, but it is pretty ugly. |
 |
| The left expansion wing after some TLC from a wire wheel drill attachment. |
 |
| The cast iron top by itself after removing the expansion wings and the motor. |
 |
| The cast iron top after some love from 50 grit sandpaper, steel wool, WD-40 and mineral spirits. Still a long way to go to make it really shine. |


